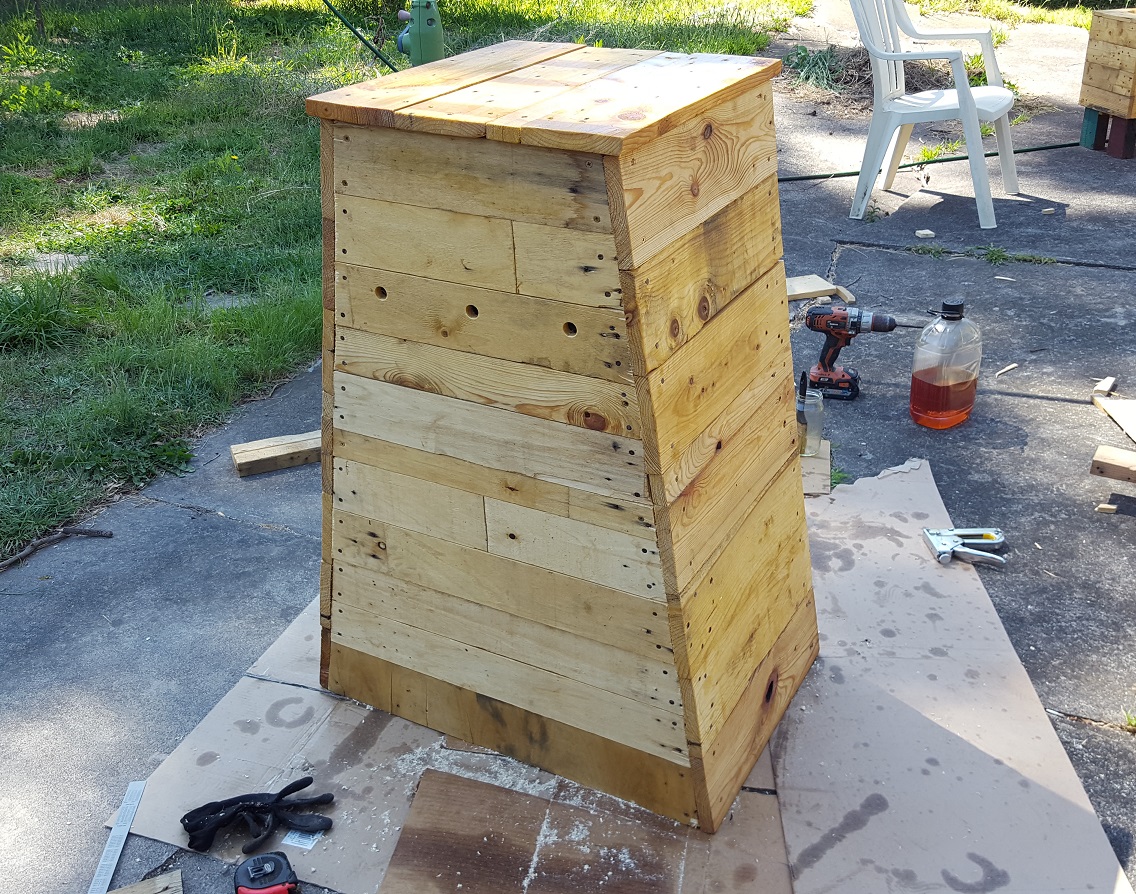
Here’s the tutorial on creating a cool looking, sustainable compost bin! Don’t be scared by the sloped sides and sweet angle, you won’t need to measure or cut any diagonals, this is quite easy to build. Check this YouTube video to see the results:
A note on composting.
There are two main types of composting, ‘Hot’ and ‘Cold”.
Compost generates heat as it decomposes, and if you make your compost bin/pile large enough (around a cubic meter) it will stay hot and compost a lot faster if you make sure it stays slightly moist. As this tutorial is designed for general home use, it’ll be a Cold compost bin – there won’t be enough organic waste material to maintain a Hot compost bin. If you have a massive garden and are constantly generating green waste, it would probably be better to build a larger composting solution.
Let’s get started!
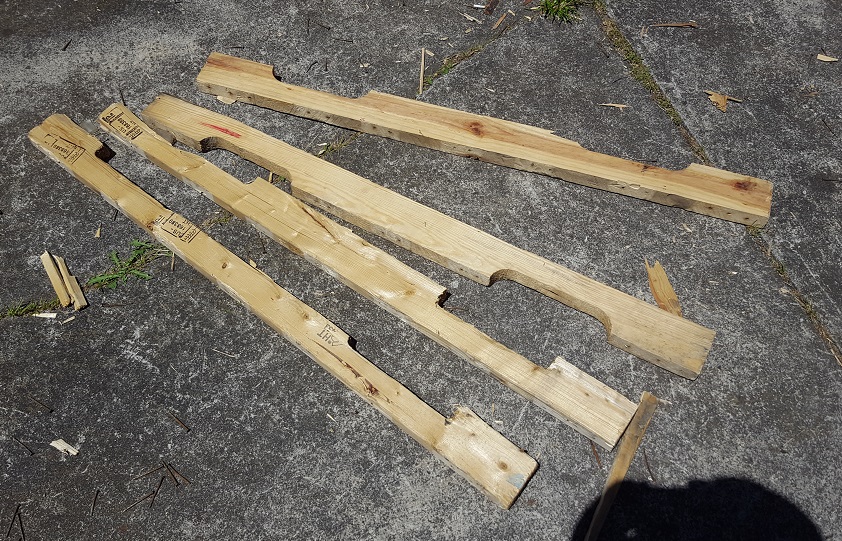
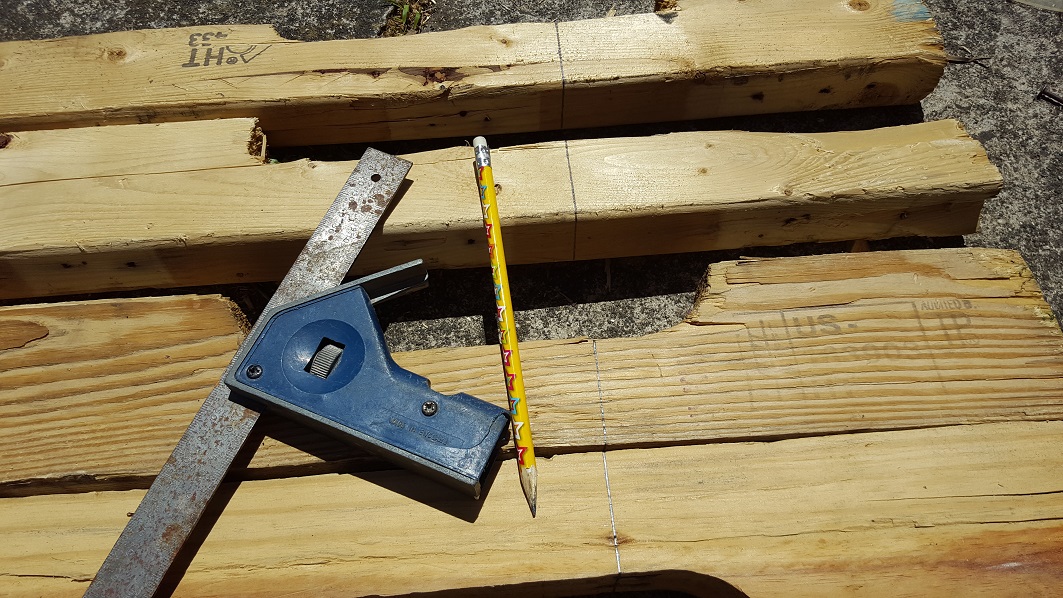
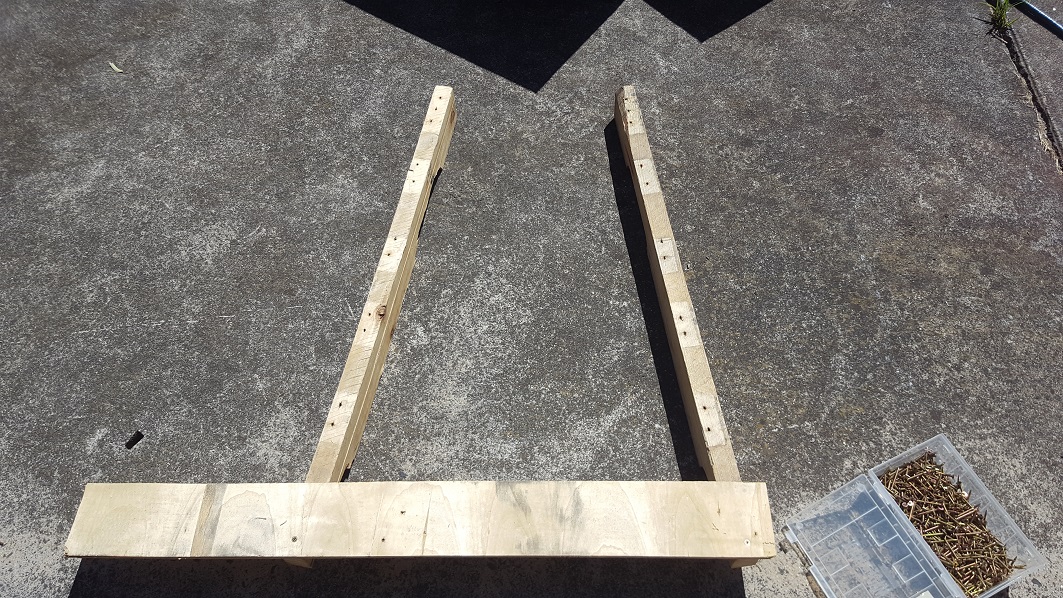
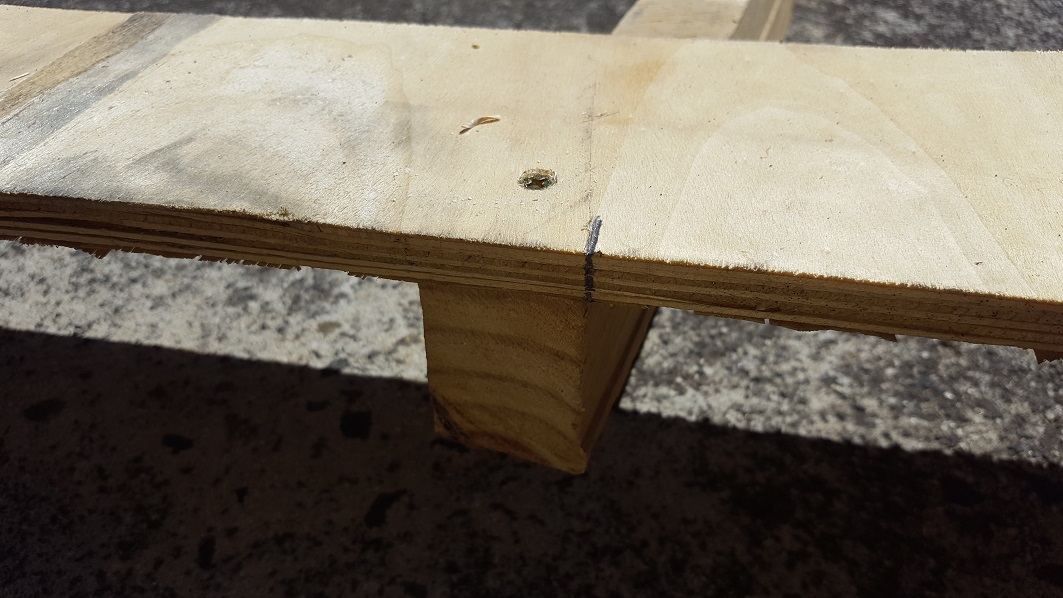
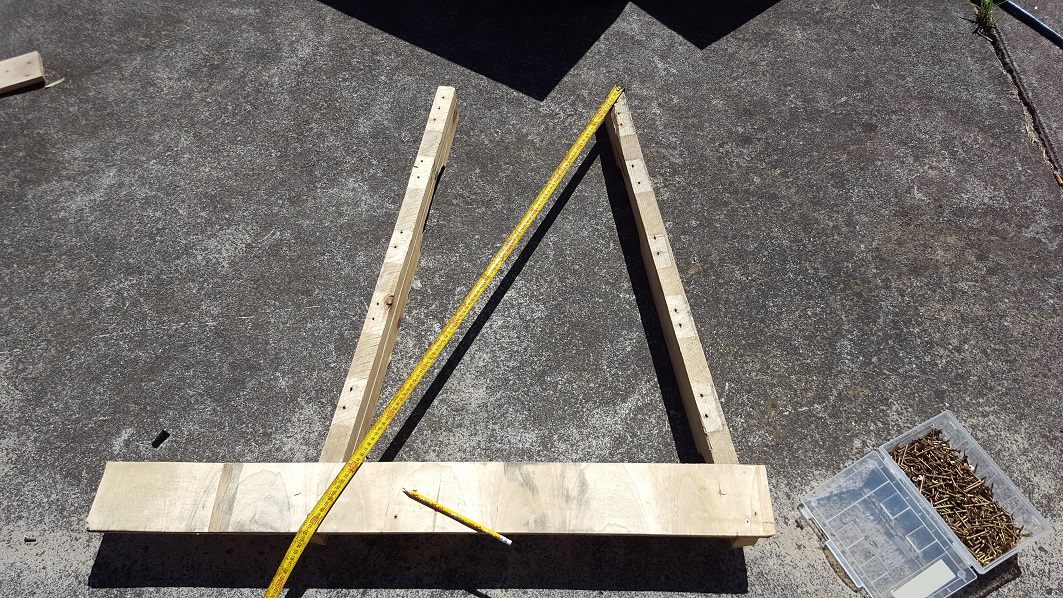
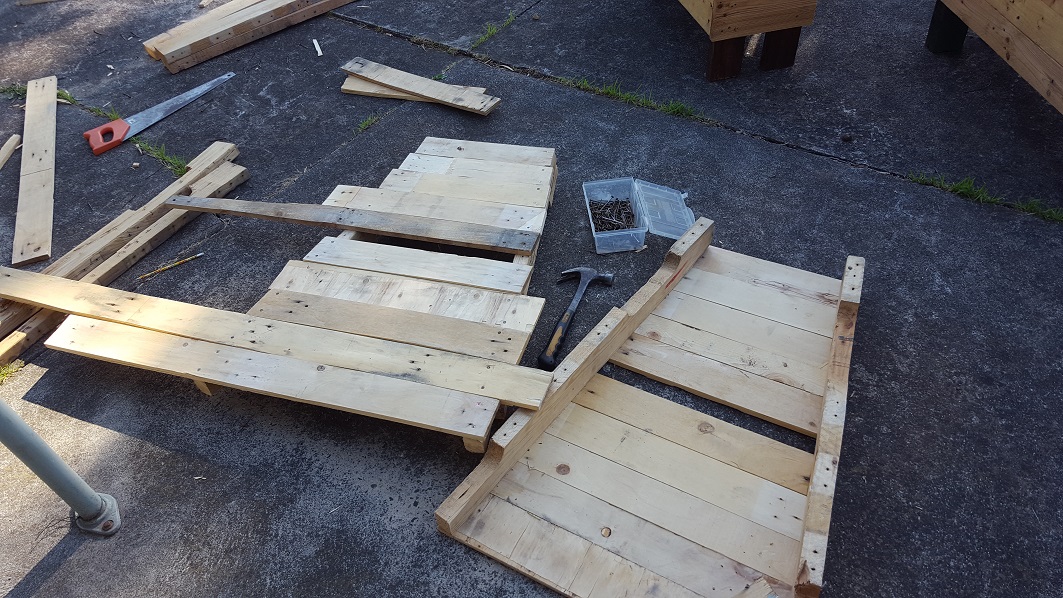
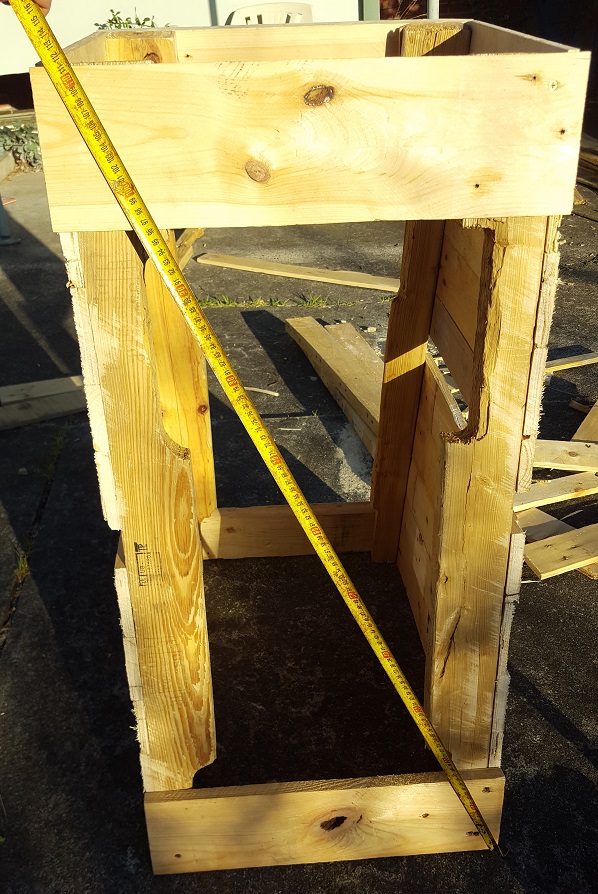
Start by choosing timber for the frame. I used these because of the forklift tine cutouts, it won’t matter for this project as they are not seen.Mark a length on your leg pieces. I made mine 1 meter long. Cut ’em!Lay out two legs on the ground, with a slat on top. You can set whatever angle you like, but I set my distances at 400mm for the top and 700mm for the bottom – measured from the outside of the legs. Put ONE screw through the slat into each leg.Mark a line on your slats, on both sides, in line with the inside edge of the legs.To get your frame symmetrical. measure from the same place on the end of each leg to the lines marked during the last step. When both diagonals match, your leg angles are identical!
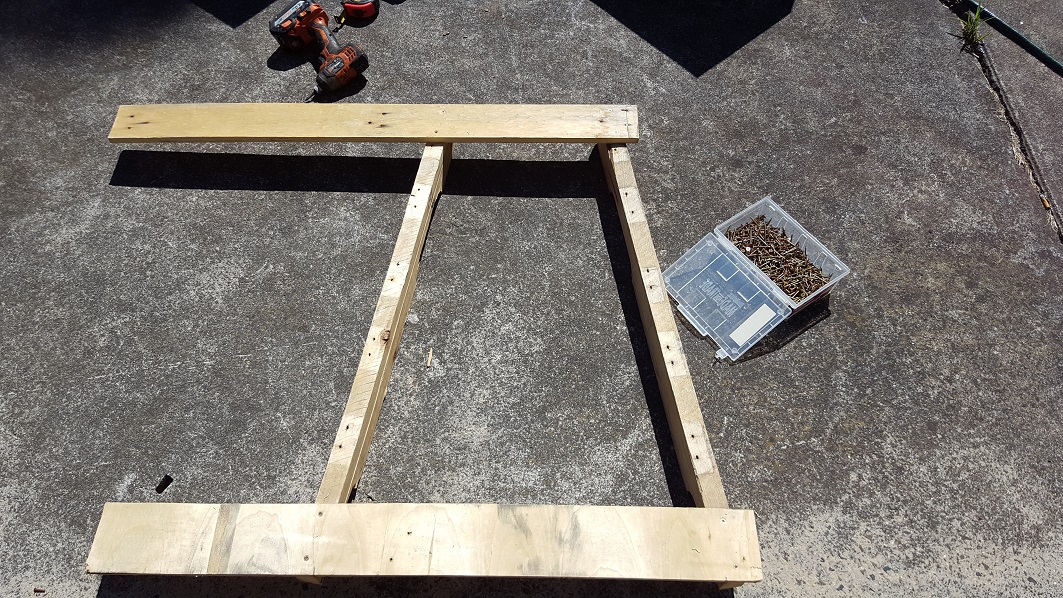
Once you are happy with the angles of your legs, put another screw through the slat into each leg. Having two screws on each join will lock the legs into position.
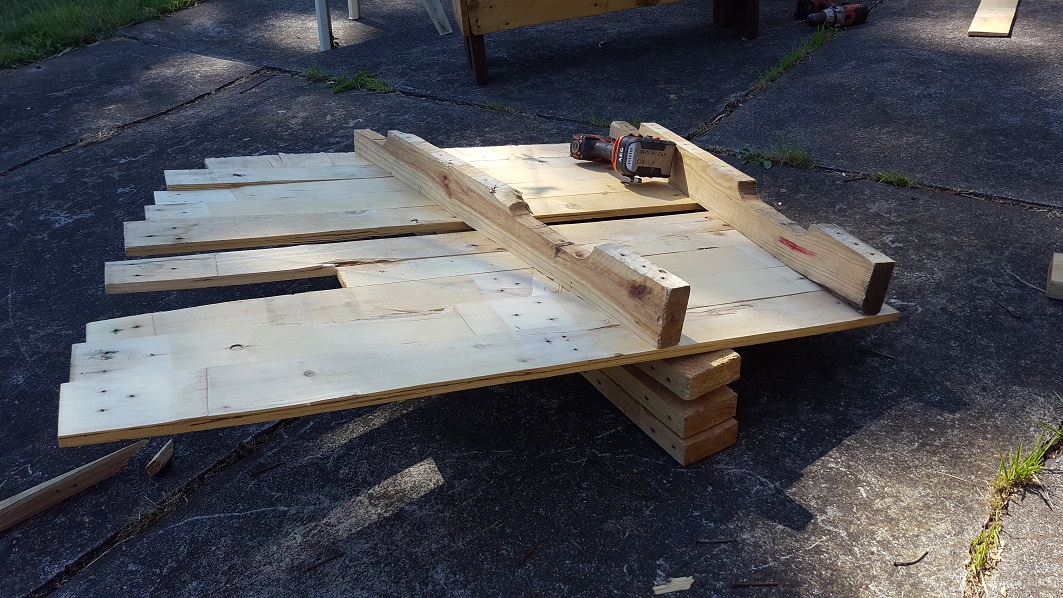
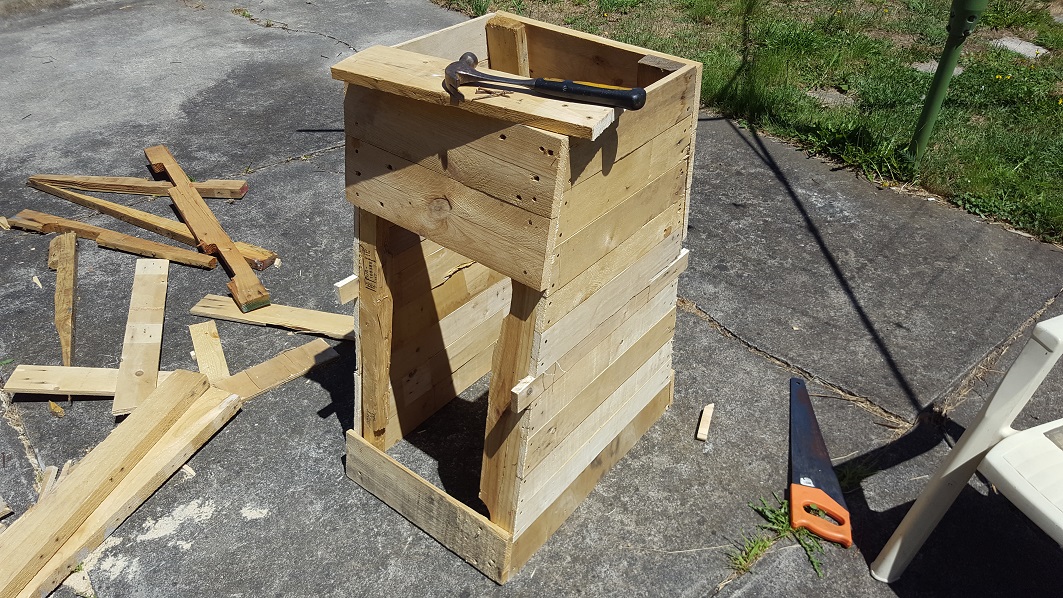
Now that the frame is locked into position, start adding more timber slats.
Don’t try to cut your slats to length yet, just attach them with as much overhang as possible. Everything that sticks out past the legs will be trimmed off, and most of the larger lengths can be used to clad the other side of the compost bin. If your timber has damaged or ugly bits, make sure they overhang the frame and get cut off.
Ad to help pay for servers:
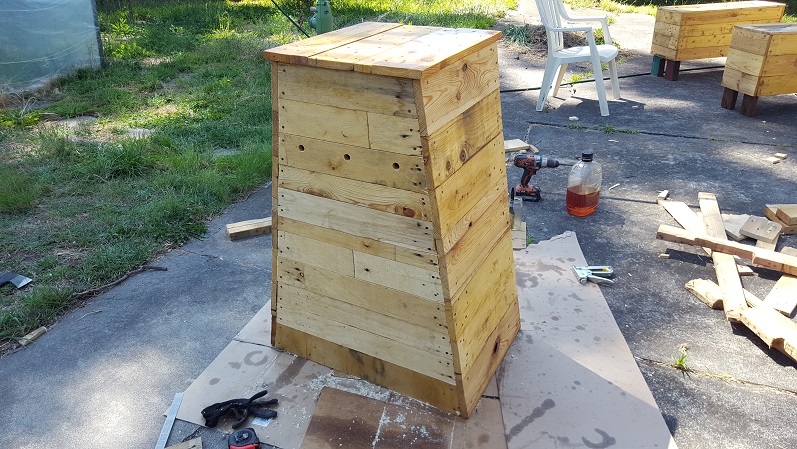
Fill in the rest! I used recycled pallet nails for all but the top and bottom slats so far.
As you can see in the picture, I left the last thin middle slat off. This is so I can cut it from damaged/offcut timber later on – that I couldn’t have used elsewhere.
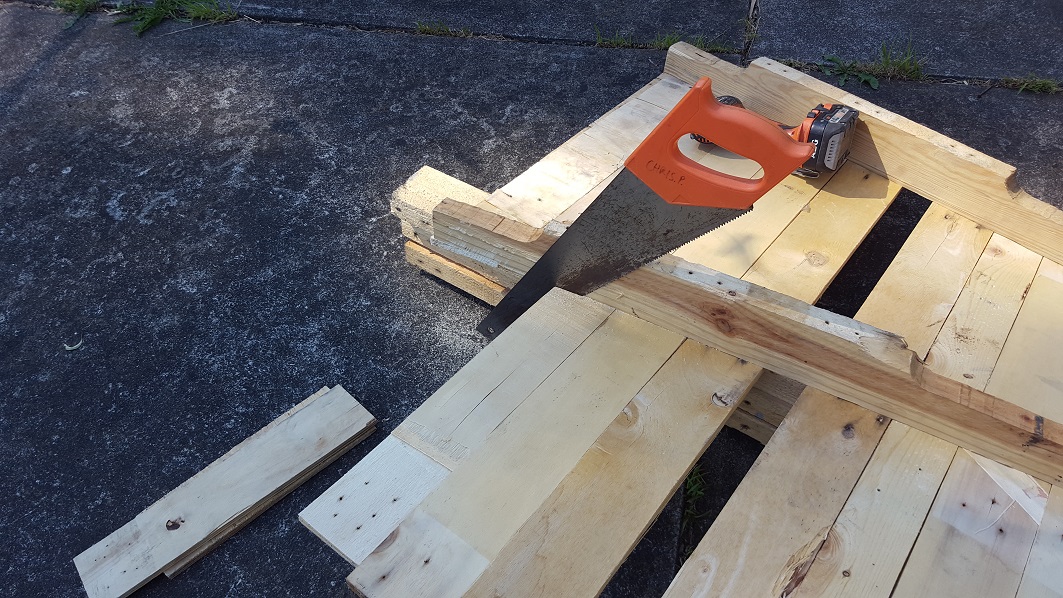
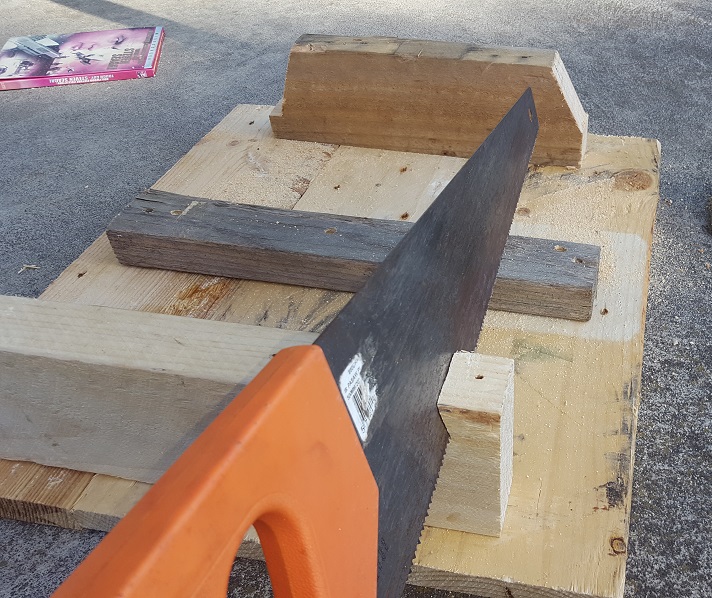
Get ready to trim off your extra length! Use a workbench if you have one, or if you’re a cheapo like me, prop it up on something as shown.Grab your saw, and start trimming! Follow the leg closely, and let it guide the saw.
While trimming, try and angle the handle of the saw slightly outwards (saw handle a centimeter or so to the left if cutting in the direction pictured). This will make the timber slats slightly shorter than the frame, and in this case shorter is better than longer! Don’t worry about scraping the side of the legs too much, The legs cannot be seen later.
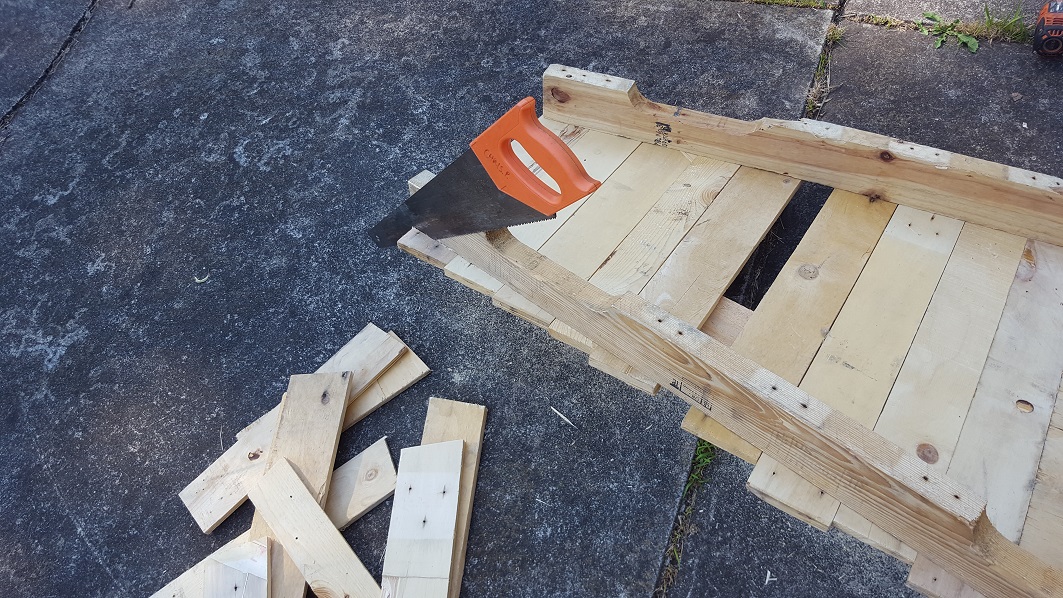
Do the same along the other edge.One side complete! Except for the piece that will be cut from scrap, of course.
Ad to help pay for servers:
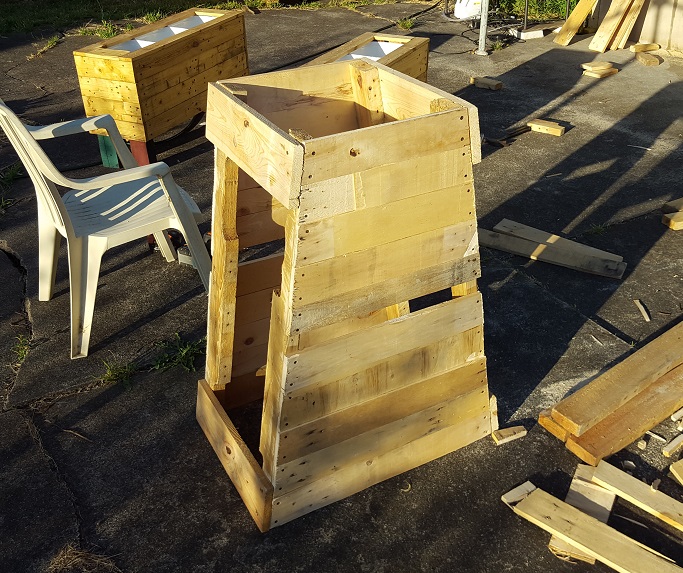
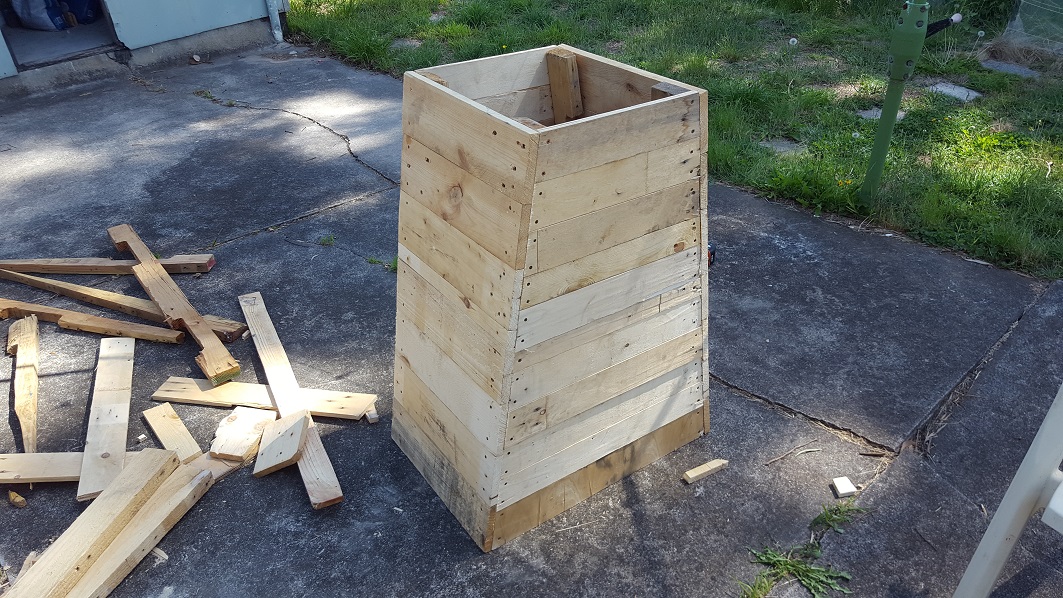
Time to build the second side!
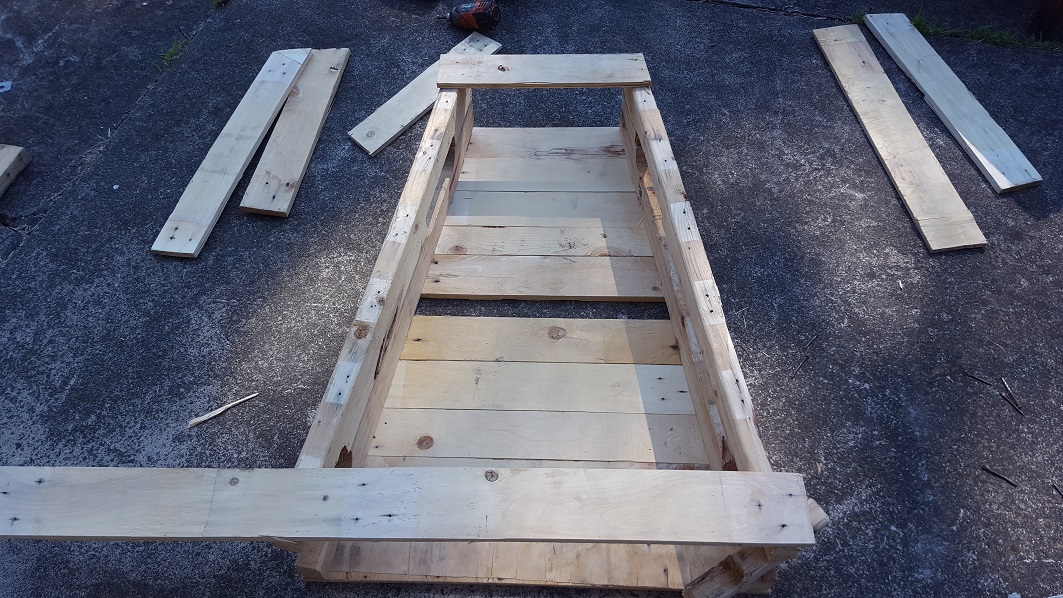
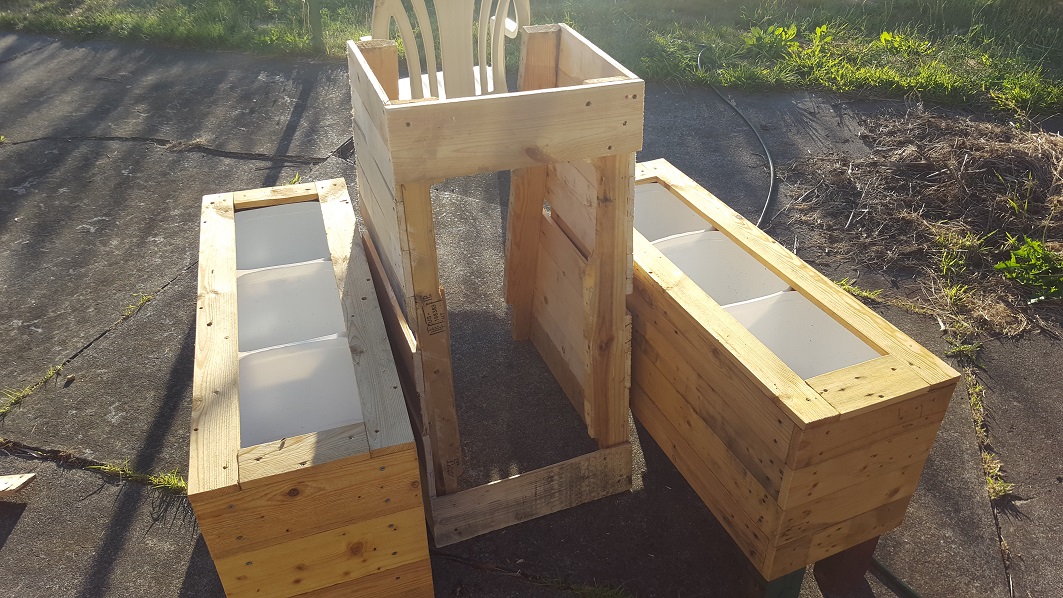
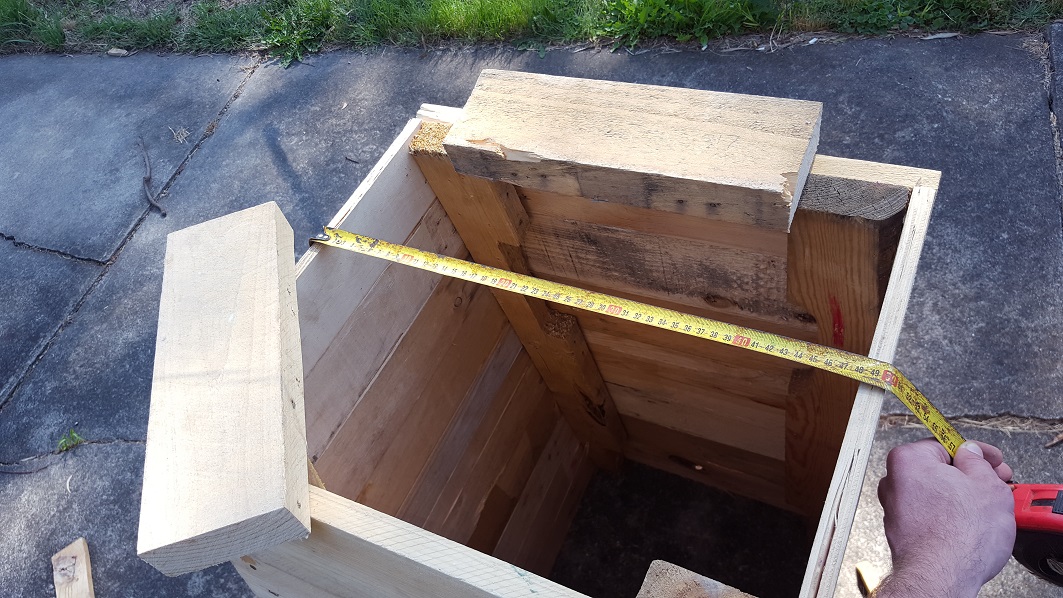
To get your next side the exact same angle, lay your next two legs on top of the last piece’s legs, as shown. When you are happy that they are aligned, add a timber top and bottom (as shown), using two screws on each join.Add timber the same way you did with the first side, and trim off the overhanging bits.You now have two matching sides that are (almost) complete!Prop your two sides up against something, or get someone to help you hold them in place. Screw on a top and bottom slat as shown , using ONE screw on each join. Read the next step before you screw!
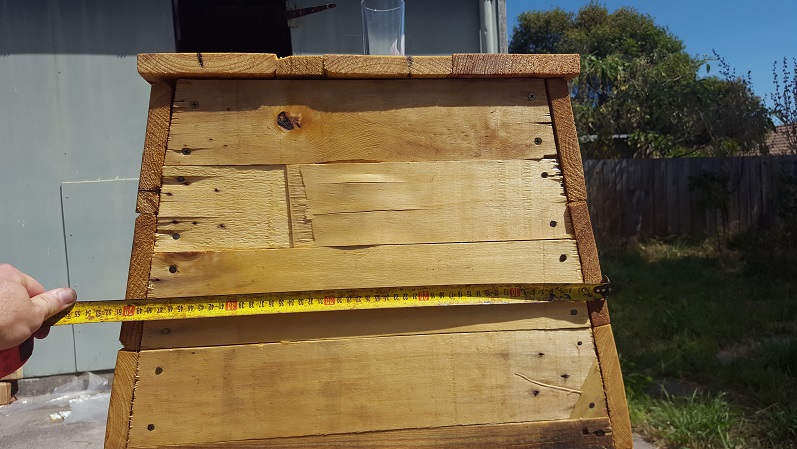
The width of the bin is up to you, but I made this bin 500mm wide, so that every piece of pallet timber I had was definitely more than twice as long – meaning I could get two slats out of each piece of timber.
Ad to help pay for servers:
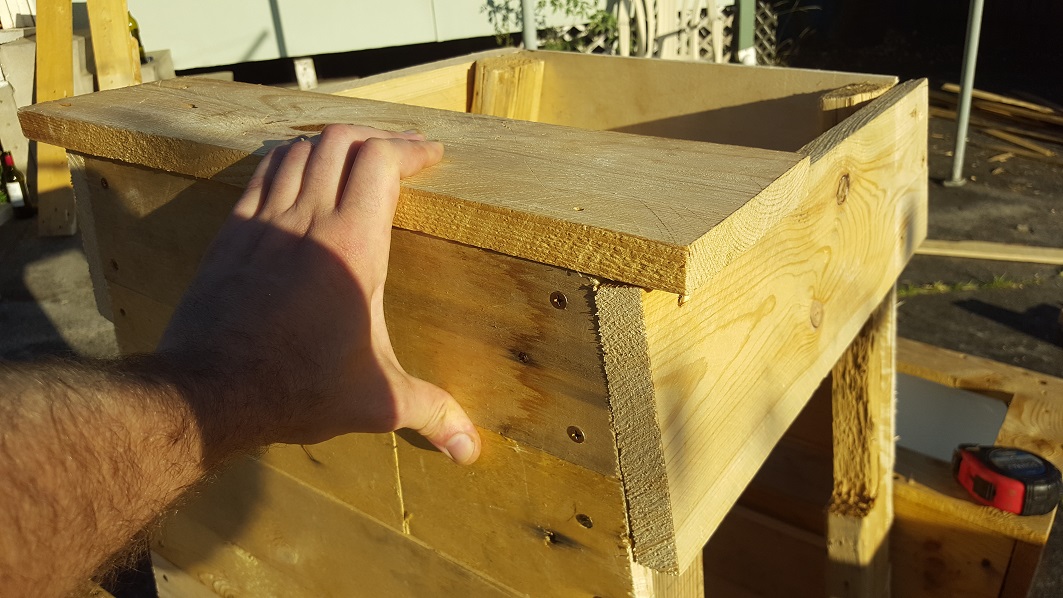
When attaching your new top piece to the frame, hold a piece of timber on top as shown. This makes sure that your new slat is flush with the top and won’t get in the way of the lid later.Add a top and bottom slat on both sides. Remember, ONE SCREW per join!Now square up your frame. You can still wiggle it around since you only used one screw per join. Measure diagonally in both directions until the measurements match, then put a second screw into each join. Do this process separately for each side.Cut however many side pieces you’ll need to cover both sides. Once you have cut them all, go through your scrap off-cuts and cut a small piece to fill in your two leftover gaps, as pictured. Trim them off the same way as before, following the angle of the legs.Fill it in! I’m still using recycled nails for all of this, except for the custom cut narrow pieces. Screws are far better than nails, and it will make the frame even more rigid.
Ad to help pay for servers:
Making the lid
First, a note about using cheap timber for lids. If you’re wondering why this lid seems over-engineered, that’s because it is! Lids get the worst treatment – water pools on them after rain, they get more sun, they get moved around, and they don’t have a large solid frame along 2 axis like the rest of the structure. If anything in this project was going to twist and buckle over time, it will be the lid. Read this whole section before making the lid, I forgot to trim the corners off my lid beams before attaching them. See below!
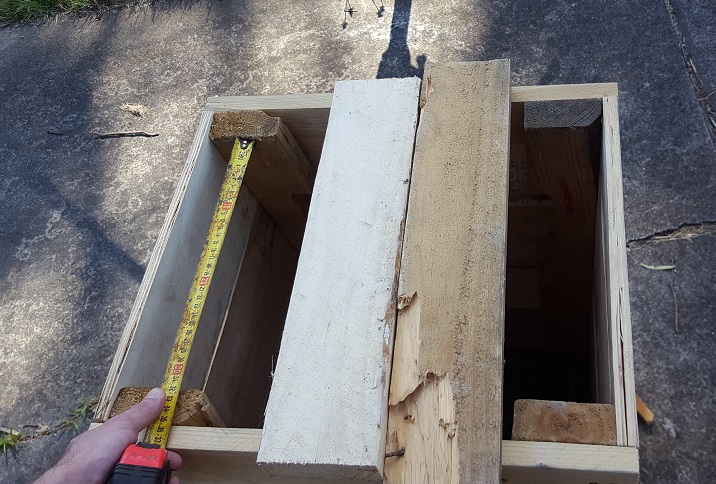
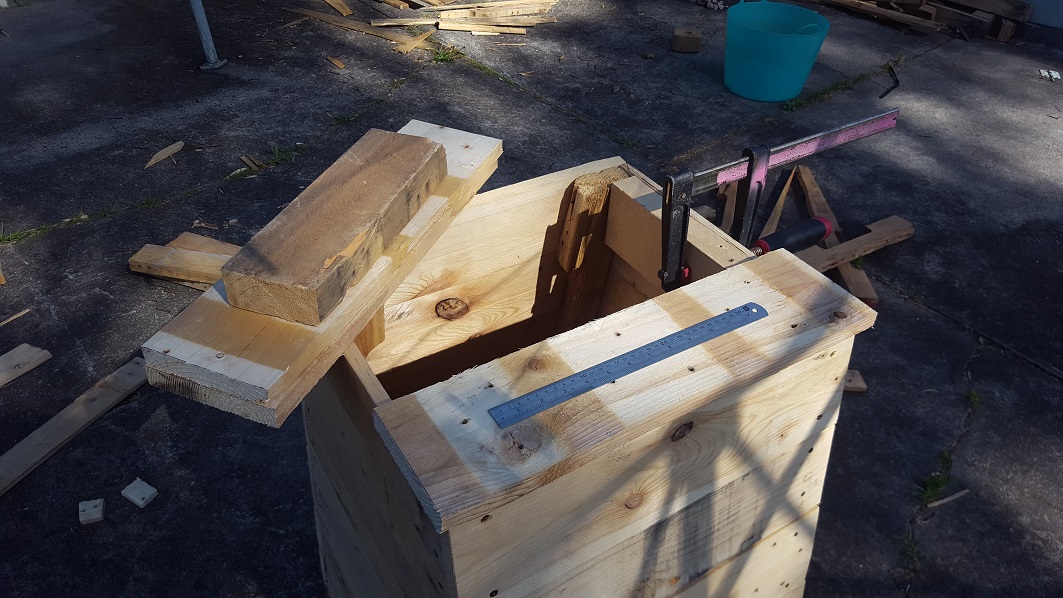
Measure the distance between the top of your legs, and cut two pieces of scrap to fit. You can do this in either direction, your finished, visible lid slats will lay perpendicular (90 degrees) to this direction. Feel free to use damaged timber, it will not be seen.Cut the pieces from the last step, then measure across your compost bin in the other direction. Add some to this measurement so your lid will overhang a bit. I added 20mm to my measurement (so it overhangs 10mm each side). Cut two slats to this length, using the widest ones you have.Hold or clamp the structural bit to the side of your compost bin, as shown. Wiggle your top slat around until it is in position, overhanging evenly all the way around the edge at whatever distance you chose. When you are happy, put screws through the slats into the ‘beams’. Do this for all four corners. Measure between the two slats as you go, to make sure they are parallel.The lid, screwed at all four corners, with slats reasonably parallel.
After getting the two edge slats in place, fill in the missing center pieces. It’s recommended you cut timbers to size and make sure it all fits nicely BEFORE screwing them in, so you can wiggle them around a bit if they don’t fit perfectly, and average out any gaps.
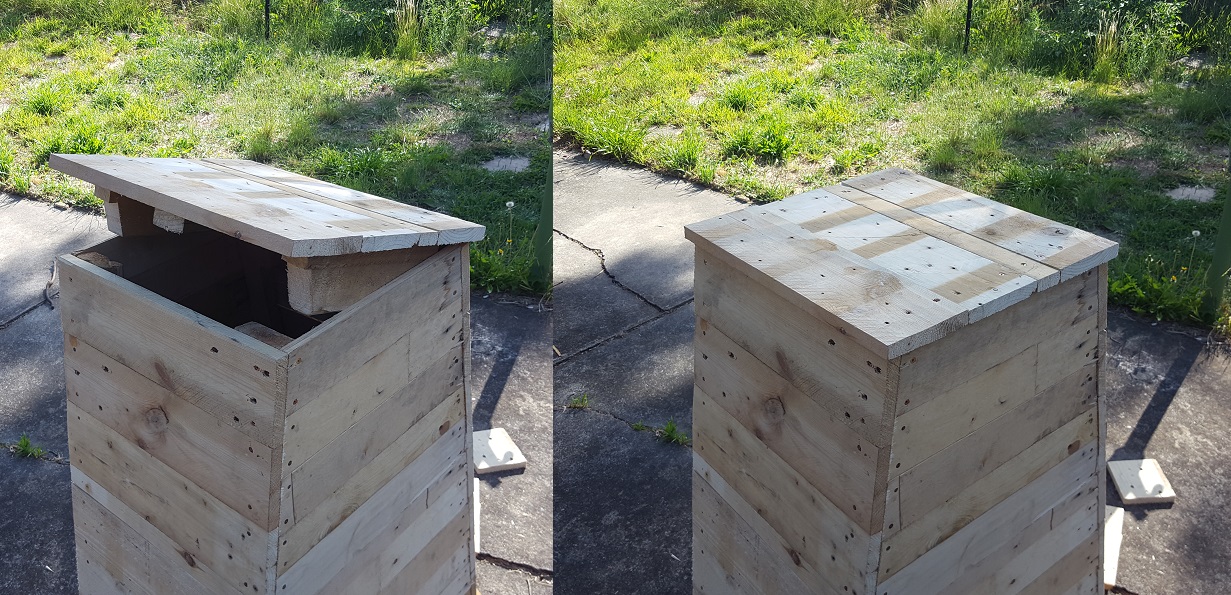
Trim the corners off the beams, or they get in the way of opening the lid if they are too wide. As you can see, I also added a strip of scrap timber down the middle of the lid, and screwed it into every slat.TA DA! Lid complete. If you have trouble getting your lid on because it is quite tight, sand the outside edge of the beams a bit to help it slide in. (the top edge of the beam closest to the camera, where I am cutting in the last step )
Ad to help pay for servers:
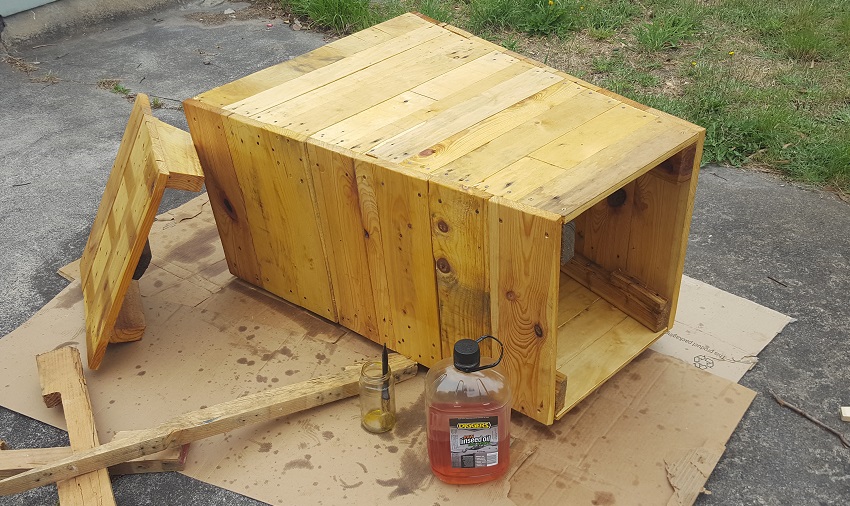
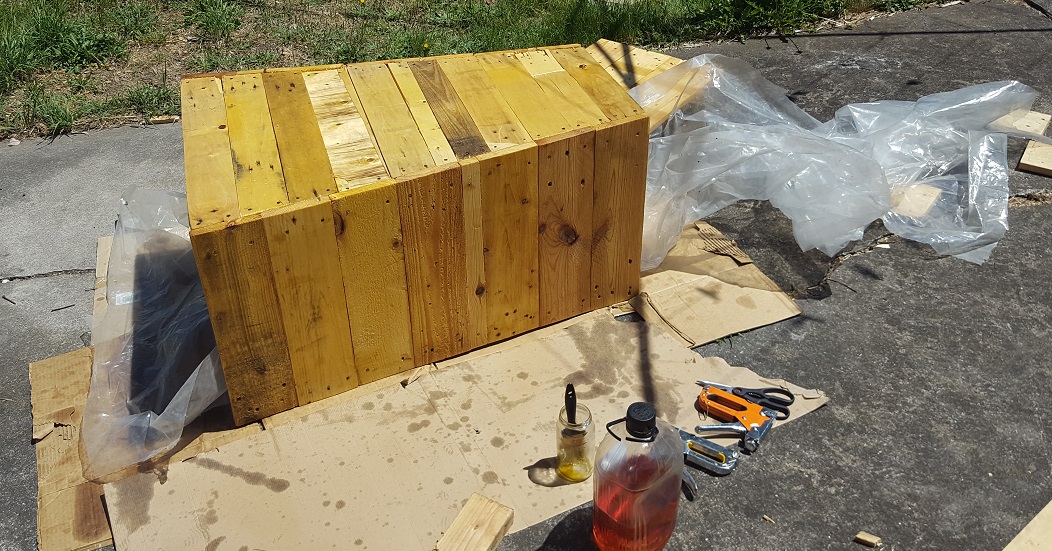
Paint or oil it!
Starting to look sexy! I recommend giving any exposed edges/corners a quick sand before painting it. It should take no more than 2 minutes.
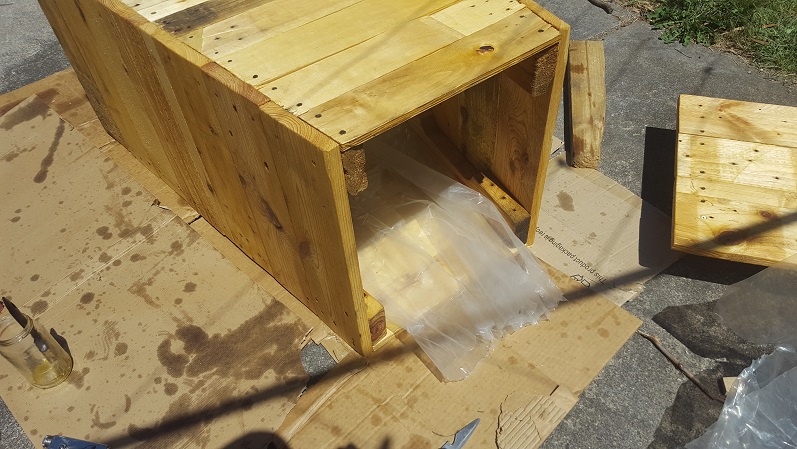
I recommend laying the bin on it’s side and painting the top part, then rolling it around as you paint each side. This way gravity helps extra oil seep down into the corner joins. Spread it on! As you can see here I slid a piece of scrap under the compost bin. This is to hold that side off the ground, as it is freshly oiled as well.
Pay special attention to the bottom of the compost bin. The edge of the walls and the feet will be resting on the ground, so will get wetter than the rest of the bin, and stay wet longer, so give it some extra juice! Remember to get the inside as well! This isn’t just for looks, you want it to last as long as possible.
Hey there, good lookin’!
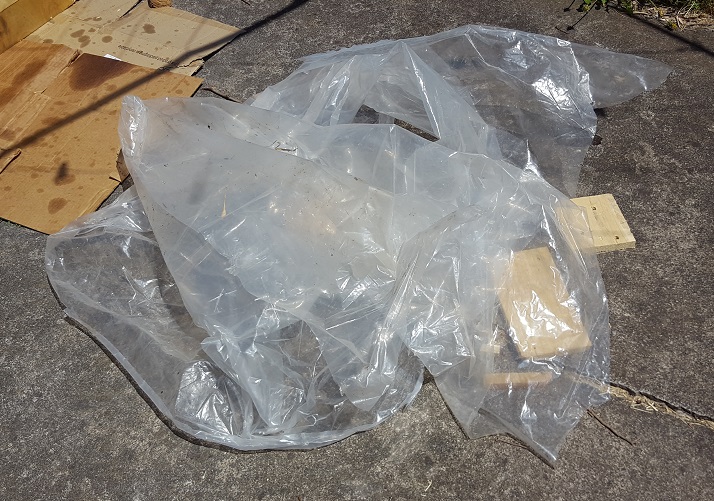
Let’s line it with plastic!
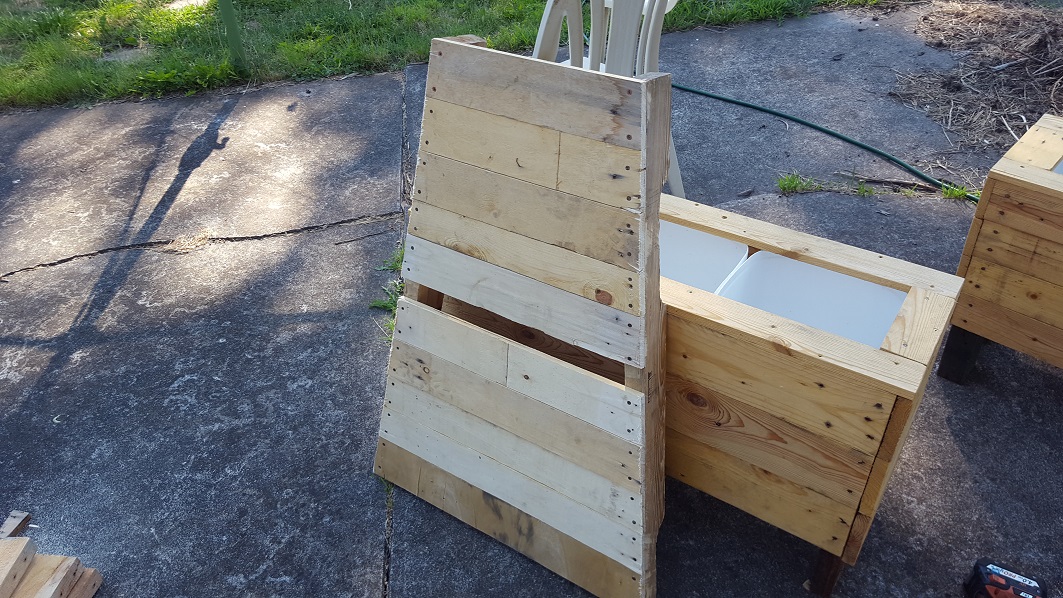
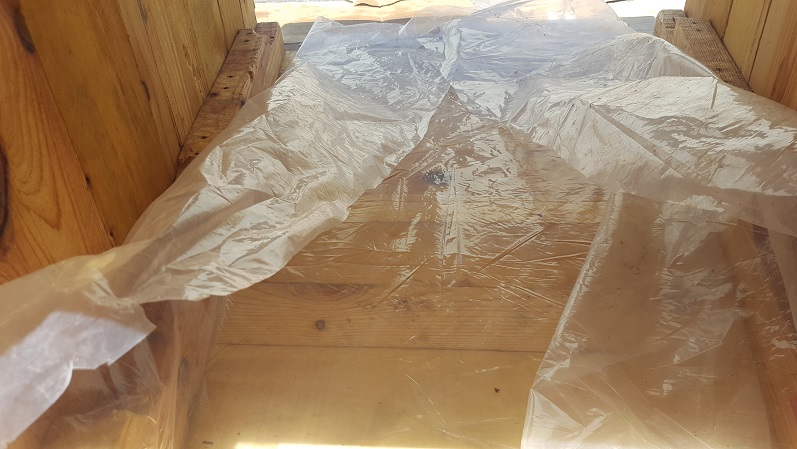
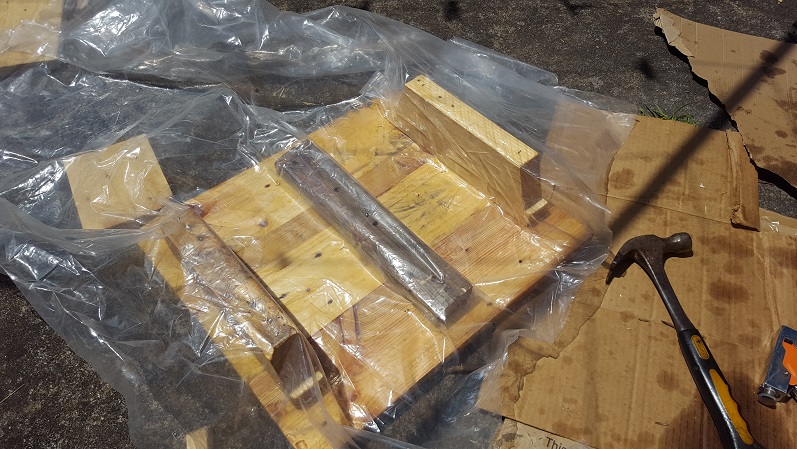
I saved the plastic cover from when my bed mattress was delivered. Perfect!Pull your plastic through the bin. I f you’re having trouble keeping it straight, fold it into a long strip first, then unfold it once it is through.Flatten out the plastic along the bottom edge, and fix it in place.
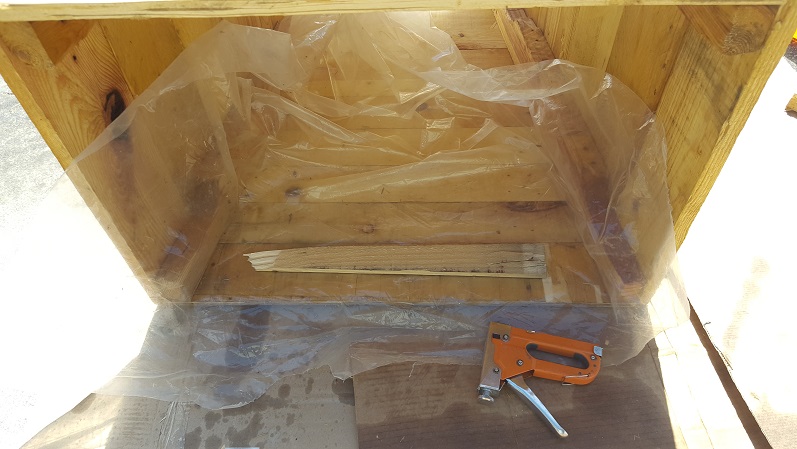
I used staples to fix my plastic into position. These bottom ones will eventually rust away – but the ones on the top will hold for much longer, so it won’t matter. If you want to secure it more permanently, screw a strip of scrap timber along the edge (shown- but not screwed). I didn’t have any short screws left, so staples it is!
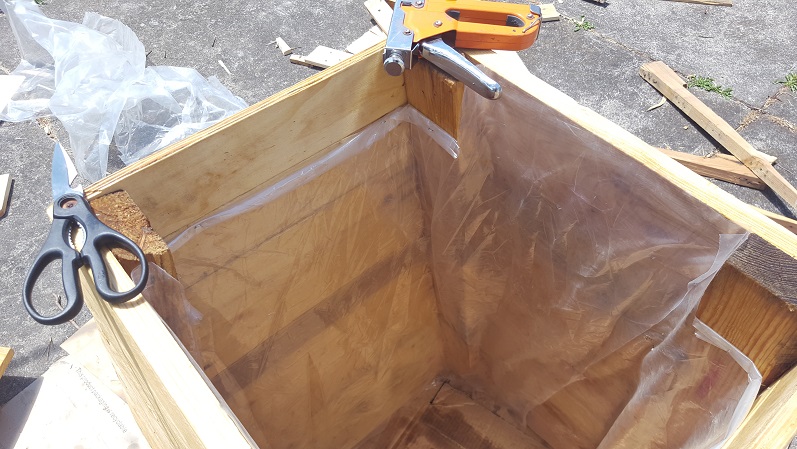
Now that the bottom edge is secured, head to the top edge and cut off your excess plastic. Cut it as close to you want, there will be no overhanging plastic later.From the top, pull the plastic until it is flat on the bottom face of the bin. Fix it in place.
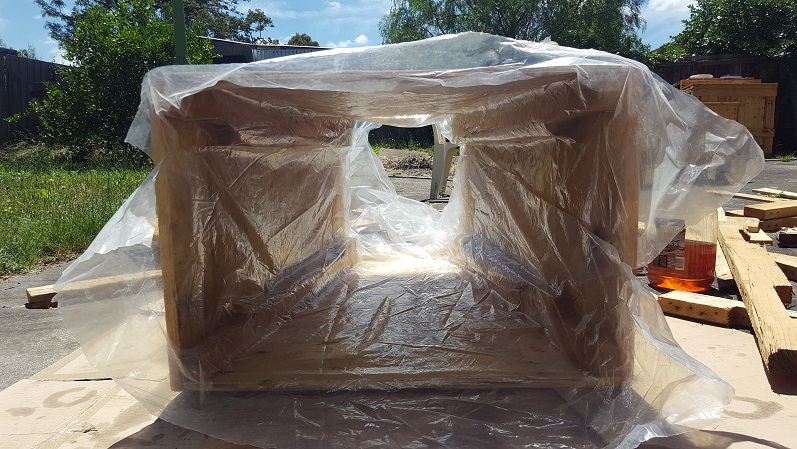
After you’ve got one face of the plastic secured, move up the sides, securing the loose bits. Once it looks pretty good, flip your bin over and repeat the whole plastic process until the whole inside is covered.
Covered! Looks pretty good. Trim off any plastic that is hanging out the bottom.Trim off any excess on the top as well. It’s recommended you move any plastic out of the way of where your lid structure will sit, otherwise over time it will get torn apart. I rolled mine over and stapled the roll.I’m covering the bottom of the lid as well, to help prevent condensation on the timber.Trim it back. Also, make sure to poke/cut a few small holes in any places where water might get caught when it rains. You don’t want water trapped under your lid for ages, soaking your timber.
Ad to help pay for servers:
Air Holes and ventilation
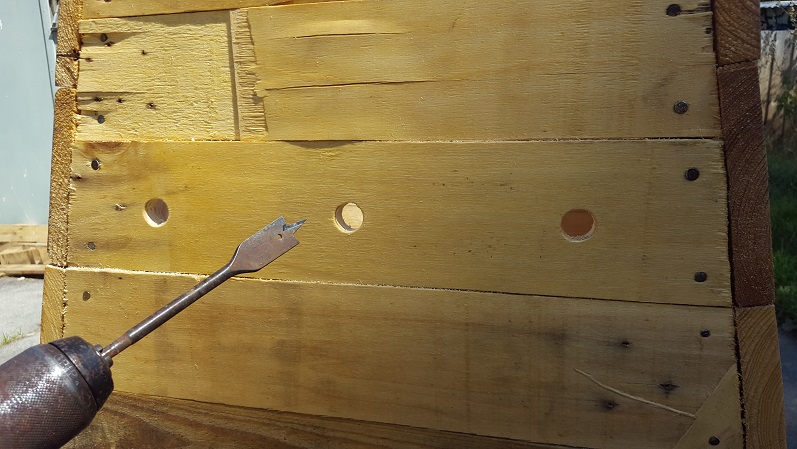
I’m going to use three 20mm holes on both sides, but if you have a large family or generate a lot of green waste, it wouldn’t hurt to drill a few extra. More airflow will speed the composting process, so you’ll have more compost ready by the time the bin fills up. Watch out though, too many holes and non frequent green waste will let your compost dry out – so it’s a bit of a balancing act.
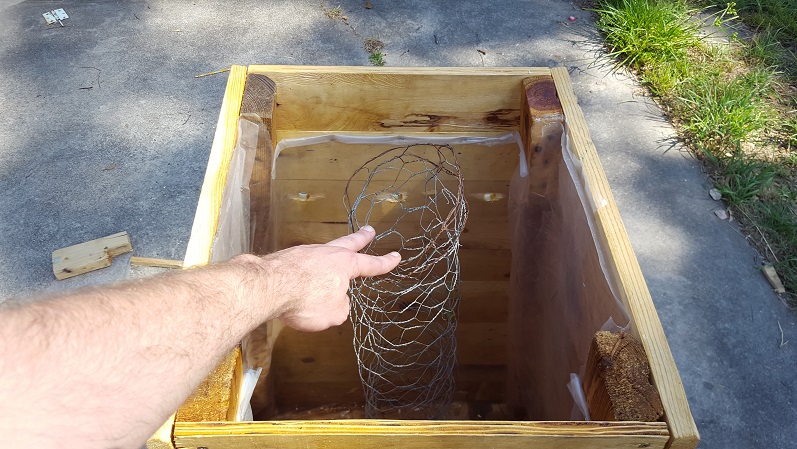
First, find the center, mark a point with a pencil. Then, choose a distance and measure outwards from your center point in both directions, and mark it. Measure down from the top edge of your bin to make sure they are all the same height.Drill your holes, and give each a 5 second sand with a scrap of sanding paper. With scissors or a knife, cut a matching hole in your plastic lining on the inside as well.Add some kind of separator.
I rolled up some spare chicken wire as my separator, it should provide good airflow through the compost heap. A lot of people suggest using a PVC pipe with slots cut in it – which would last much much longer than chicken wire – but I couldn’t afford this. The cheapest way would be to throw in some sticks on various angles – that should keep the pile reasonably well separated.
Done!
All done!
Try to put your compost bin somewhere shady. Direct sun can kill a lot of good creepy-crawlies that like to live in compost bins, such as earthworms. They prefer somewhere shady and moist. Enjoy!


1 thought on “$8 DIY Compost bin prototype using recycled pallets”