This article covers the creation of the 2nd prototype Gravity Header Manifold – designed to route water for Aquaponics or Hydroponics, at low pressures. This will only be a brief tutorial, as Prototype #3 is better in many ways.
It’s been a while since I’ve posted something, so here’s and old project! Prototype #3 and schematics for both coming soon-Chris
Tools:
- Hand saw
- Screw gun / drill
- Spade bit for the drill (the size of your PVC standpipe)
- Scissors
Materials:
- 6mm inner diameter polyvinyl pipe
- Some garden hose
- Timber
- A bottle
- A short piece of PVC pipe
- Screws
- Zip ties
- Wire (any kind)
- At least 1 small hinge
- A small latch or hasp
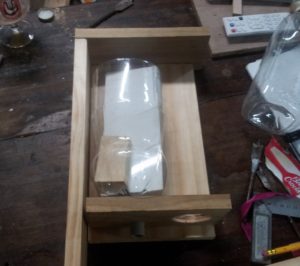
- Cut the top off a bottle.
- Cut a piece of PVC pipe approx 50mm /2in longer than the bottle. Whatever pipe/tube/hose you are going to connect to this drain standpipe must be able to fit inside inside it. Otherwise you’ll need to figure out some pipe fitting – even though it’s a very low pressure join. My PVC almost perfectly fits a garden hose.
- Drill a hole through the bottle, and insert the pipe.
- Lay out timber and start planning a box, as shown.
- Drill a hole through the base for the PVC pipe, as shown. Leave it unsealed for now, we’ll seal it later.
- Drill or cut a large opening on the other side of the base, as shown.
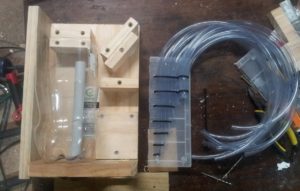
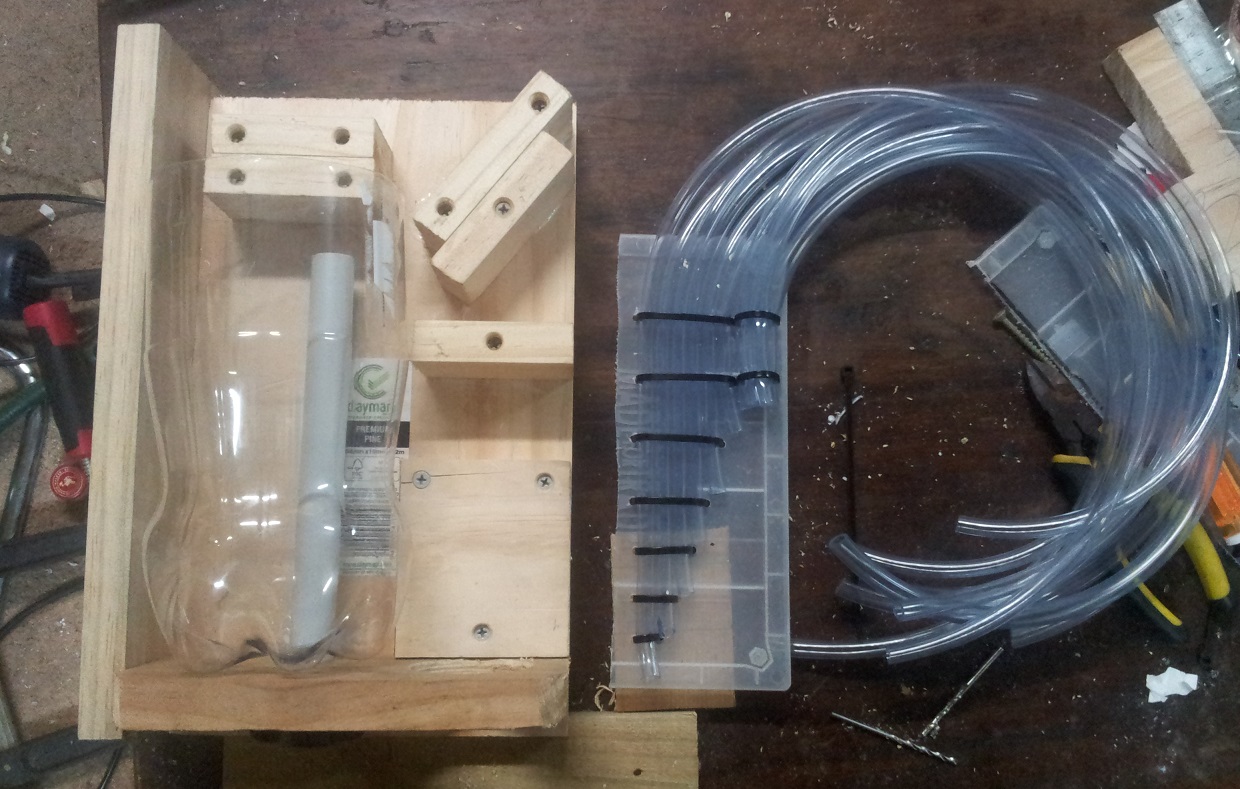
- Cut some scrap timber into spacers, and attach them to the box as shown. You’ll want them to be about half as high as the bottle, so the pipes will be reasonably centered in the next steps.
- Find a suitable piece of plastic and cut it so it will fit inside the bottle, long enough to reach the timber spacers on top of the bottle. Cutting the side out of a second bottle would probably work, but I used the lid from an empty box of screws.
- Cut some flexible pipe and attach it to your plastic as shown. Zip tie to hold them in place. Make sure the pipes will be long enough to travel along your spacers and out the large hole in the base of the box.
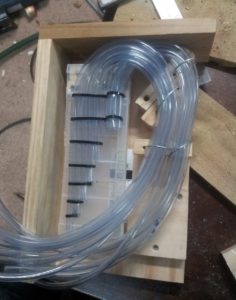
- Attach the top of your timber box. Drill pilot holes to avoid splitting and timber.
- Get your pipe assembly in position. Try it with the bottle in position to make sure it is aligned.
- Put two screws through the plastic of the pipe assembly into the timber spacers above the bottle.
- Remove the bottle at this stage so it doesn’t get in the way.
- Drill holes down through your timber spacers, all the way through the back of the timber box.
- Start tying your pipes down by threading wire or zip-ties through the holes and securing them at the back of the box, as shown.
- Make sure it is tight, but not tight enough that the pipes get crushed!
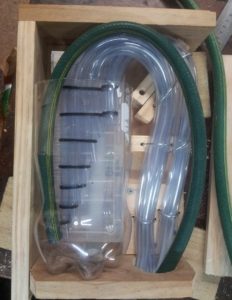
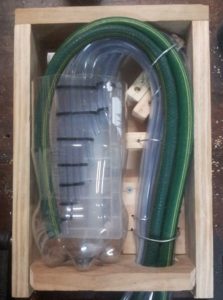
- Before screwing on the left wall and bottom piece, seal your PVC stand-pipe > bottle join with glass silicone, and let it dry overnight. Don’t be afraid to lay it on pretty thick, this is the only seal in the whole unit that can fail and cause a leak. Make sure to clean the pipe and bottle surfaces before applying silicone to them.
- Put everything in place, and screw the bottom and right side to the rest of the box.
Some notes about the garden hoses and using multiple pumps.
If you are using two small pumps and are worried they may be unreliable – cut the garden hoses shorter so they only reach into the top of the bottle. Otherwise, if one pump fails, water will siphon back down the garden hose once the pump stops. You’ll be left with water coming in from one pump hose and leaving via the other, instead of routing to your system.
On the other hand, if you leave them long as I have, you can clean your pumps out by simply turning them off and back on again for a few seconds. All the water in the container will flow back down the hoses, back-washing out any debris in the pipes or pump. You also have the option of using second hose as an ‘out’ instead of ‘in’ if you want.
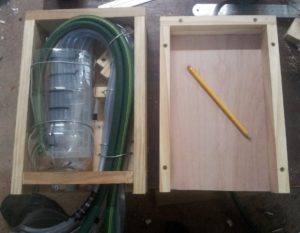
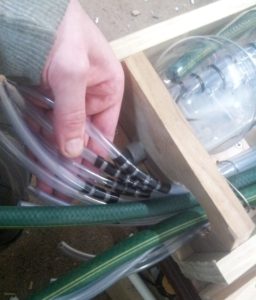
I used some strips of electrical tape to number my pipes. In the case of pump pressure loss – eg. it begins to become clogged – the pipes sitting highest in the bottle will stop first. Use the lower ones for your more important systems – such as spray bars for water aeration or other critical things.
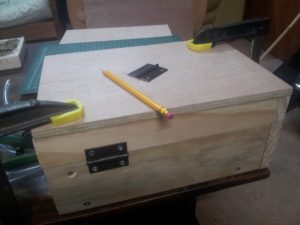
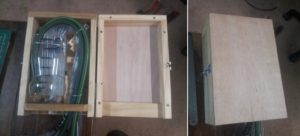
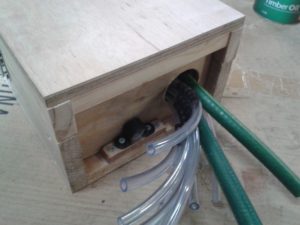
Done!
More on how this prototype is used coming soon, I’m low on time!

2 thoughts on “Gravity Header Manifold prototype #2 tutorial”